Installing & Running Jupyter Lab on PyPy3
Nothing much to it, after the previous post's (mis)adventure.
Withour further ado: The (boring) adventure!
First of all, I installed a new instance of Ubuntu 18.04 WSL. The steps are... quite complex, but I won't describe it here because it's irrelevant to the procedure. If you want to try, follow the instructions in this here StackOverflow anser.
After following the instructions, you'll have to (1) "unminimize" the instance, (2) install many QoL packages, and (3) so on and so forth.
The reason why I installed a new instance is that I want to ensure that I 'get' all the required steps; nothing skipped due to a previous installation of unrelated things unexpectedly fulfills a requirement of the procedure here.
With that behind us, let's get on to the show.
First things first: Update the database and upgrade things
$ sudo apt update
$ sudo apt upgrade
Next we want to ensure the process will not be stopped if you accidentally closed the terminal:
$ sudo apt install tmux ncurses-term ncurses-base ncurses-bin
$ tmux
Now that we're 'safe' inside tmux, let's carry on with the "facilitator packages":
$ sudo apt install python3-virtualenv python3-pip \
    virtualenvwrapper software-properties-common
Next step is instally PyPy3:
$ sudo add-apt-repository ppa:pypy/ppa
$ sudo apt install pypy3 pypy3-dev
the -dev package is required to create the wheels of some of Jupyter's deps.
Test that the installation works:
$ pypy3 -V
Now let's create a virtualenv:
$ # I prefer my virtualenvs to live in ~/Venvs instead of ~/.virtualenvs
$ mkdir ~/Venvs

$ # The next 2 lines should be added to .bashrc / .zsh rc
$ export WORKON_HOME="$HOME/Venvs"
$ source /usr/share/virtualenvwrapper/virtualenvwrapper.sh

$ # Create & Activate
$ mkvirtualenv -p $(which pypy3) jupyter-pypy3_7.3.1-01
mkvirtualenv will automagically activate the virtualenv. So we can go directly to testing
if the virtualenv has been created successfully:
$ python -V
$ pip -V
Swell! No problem so far. Let's go to the crux of the matter:
$ pip install jupyterlab
After some long minutes, I did not see any errors. So, let's fire up JupyterLab:
$ cd
$ mkdir -p Notebooks
$ cd Notebooks
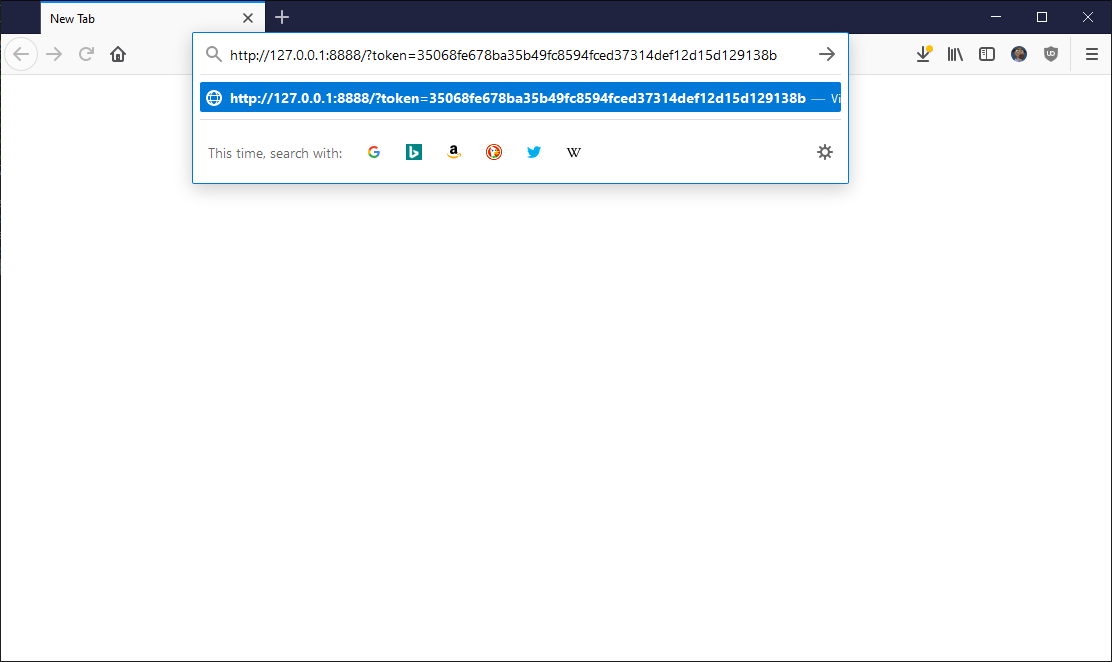
$ jupyter lab --no-browser
and ...


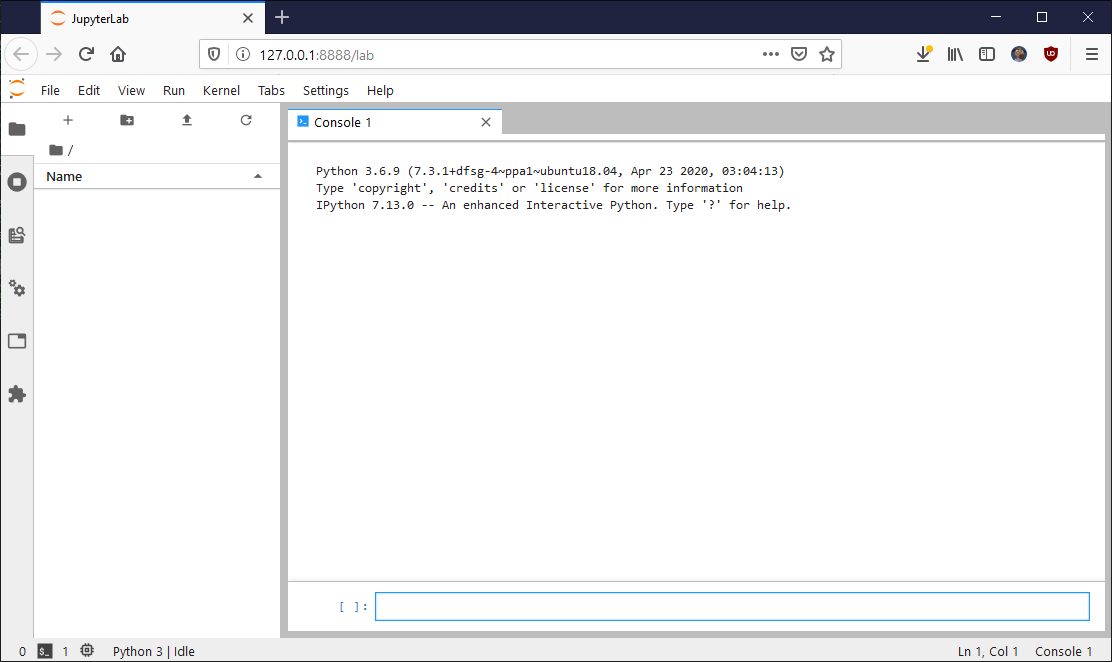
All is good, all is well!
I can say that JupyterLab runs well on top of PyPy3, and subjectively it felt smoother and snappier.
So, go ahead and try it out!
Important Note: I did NOT install heavyweight libs like Panda or NumPy or SciPy, yet. So I cannot guarantee that the problem-free situation extends to that scenario. Feel free to try them out and inform me of the results.
Comments
Comments powered by Disqus